Deploy Manifest on Fly.io

⚠️ warning This guide does not ensure persistent data for the database and the storage.
In this tutorial, we will guide you through deploying your Manifest backend on Fly.io, a cloud provider focused on simplicity and speed.
You will set up a Manifest project, configure it for deployment, and then deploy it on Fly.io. By the end of this tutorial, you should have your Manifest backend running on Fly.io.
What is Manifest?
Manifest is a lightweight Backend-as-a-Service that speeds up backend development. With just one clear and concise YAML file, you can define your entire backend effortlessly. This simplifies configuration while offering solutions for data management, storage, and business logic. By eliminating the usual backend complexities, Manifest lets developers concentrate on shipping projects faster.
What is Fly.io?
Fly.io is a developer-friendly cloud provider that focuses on fast deployments and a global reach. Fly.io enables you to run applications and databases in regions near your audience for lower latency and better performance.
Prerequisites
Before getting started, ensure you have the following:
Required Knowledge:
- Basic understanding of Node.js and backend development
- Familiarity with cloud services and deployment processes
Software Requirements:
- Node.js version 18.x (LTS versions)
- npm (included with Node.js installation) or yarn as a package manager
- A Fly.io account. If you don’t have one, sign up on the Fly.io registration page.
Set up Manifest
If you haven't installed Manifest yet, follow these steps:
1. Install Manifest
Run the following command in your terminal from the root of your project:
npx add-manifest@latest
This will generate a manifest.yml file and install the necessary dependencies.
2. Run Manifest
Before setting up for production, let's first see how our backend behaves locally. To do that, run:
npm run manifest
Once running, you can access the Admin panel at http://localhost:1111 (admin@manifest.build / admin) and use the REST API at http://localhost:1111/api.
3. Create a "start" script for production
The npm run manifest script should only be used for development as it watches file changes.
Open the package.json file in your codebase and insert a new start script within the scripts list, setting its value to node node_modules/manifest/dist/manifest/src/main.js as demonstrated below.
json title="package.json"
"scripts": {
    "start": "node node_modules/manifest/dist/manifest/src/main.js"
    [...]
}
Setup Fly.io
Deploying your Manifest backend on Fly.io is straightforward and efficient. Follow these steps to get started.
1. Create a new app on Fly.io
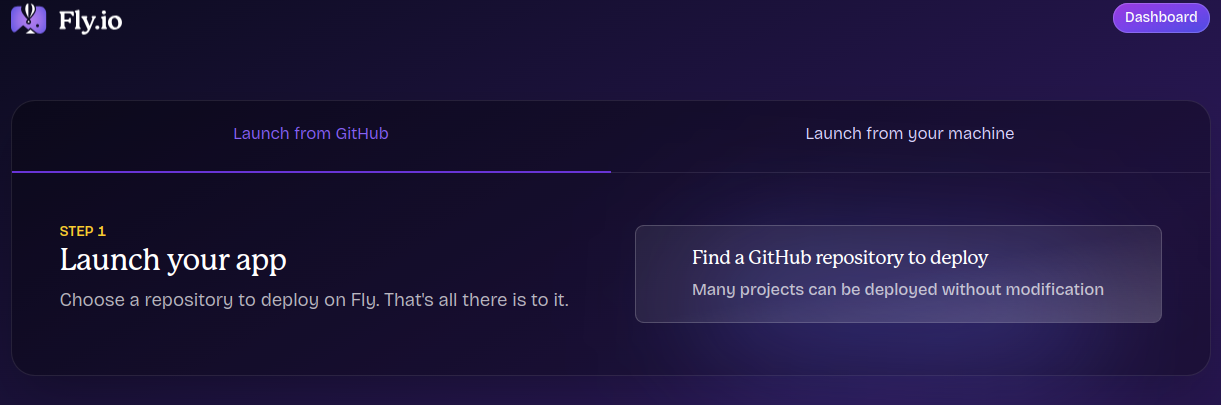
Sign in to Fly.io to access your dashboard. Then, click Launch an app to start the process.
In our example we are deploying a Manifest backend hosted in GitHub. You can also connect to your codebase using the Fly.io CLI. After configuring your GitHub integration with Fly.io, select the repository and click on Deploy repository to launch the deployment.
2. Configure your app
The next screen will allow you to configure the app to make it work as you want. Here are the settings that you can or must update (in UI order):
- Basics (optional): Choose your app's name
- Region (optional): Choose the region closest to where your audience is
- Network: Set the internal port to
1111to match the default Manifest port. - CPU & Memory (optional): Manifest can run on the 1 CPU and 512 MB VM Memory on small/medium projects. The default size is a bit bigger, you can replace it by a smaller one if you want.
- Secrets: Add the 2 secrets:
TOKEN_SECRET_KEY(which you can generate at JWTSecret.com) andNODE_ENV=production.
Validate the config and Fly.io will build the image and deploy.
🎉 That's it! Click on View app to see it.