Deploy Manifest on Heroku

⚠️ warning This guide does not ensure persistent data for the database and the storage.
In this tutorial, we will guide you through deploying your Manifest backend on Heroku, a cloud platform known for its simplicity and developer-friendly interface.
You will set up a Manifest project, configure it for deployment, and deploy it on Heroku. By the end of this tutorial, your Manifest backend should be running successfully on Heroku.
What is Manifest?
Manifest is a lightweight Backend-as-a-Service that simplifies backend development. Using a single YAML file, you can define your entire backend, including data management, storage, and business logic. This approach removes complexity and accelerates project delivery.
What is Fly.io?
Heroku is a cloud platform that allows developers to build, run, and operate applications entirely in the cloud. It offers a streamlined experience for deploying, managing, and scaling applications.
Prerequisites
Before getting started, ensure you have the following:
Required Knowledge:
- Basic understanding of Node.js and backend development
- Familiarity with cloud services and deployment processes
Software Requirements:
- Node.js version 18.x (LTS versions)
- npm (included with Node.js installation) or yarn as a package manager
- A Heroku account. If you don’t have one, sign up on the Heroku registration page.
Set up Manifest
If you haven't installed Manifest yet, follow these steps:
1. Install Manifest
Run the following command in your terminal from the root of your project:
npx add-manifest@latest
This will generate a manifest.yml file and install the necessary dependencies.
2. Run Manifest
Before setting up for production, let's first see how our backend behaves locally. To do that, run:
npm run manifest
Once running, you can access the Admin panel at http://localhost:1111 (admin@manifest.build / admin) and use the REST API at http://localhost:1111/api.
3. Create a "start" script for production
The npm run manifest script should only be used for development as it watches file changes.
Go back to your codebase and open the package.json file and add a new start script on the scripts list with the value node node_modules/manifest/dist/manifest/src/main.js as following:
json title="package.json"
"scripts": {
    "start": "node node_modules/manifest/dist/manifest/src/main.js"
    [...]
}
Setup Heroku
Deploying your Manifest backend on Heroku is straightforward and efficient. Follow these steps to get started.
1. Link to the source provider
Sign in to your Heroku account or create a new one.
You can click on the "New" button and then "Create a new app" to get started. Choose the app name and the region that is closest to your users and click on "Create app".
In our example we are deploying a Manifest backend hosted in GitHub but you can get it from other sources too like Heroku Git or Container Registry.
Select "GitHub" and then connect the repository of your manifest backend. Click on "Automatic deploys" if you want to enable push-to-deploy on the main branch. Make sure that you are on the correct branch that corresponds to your production version (usually main or master).
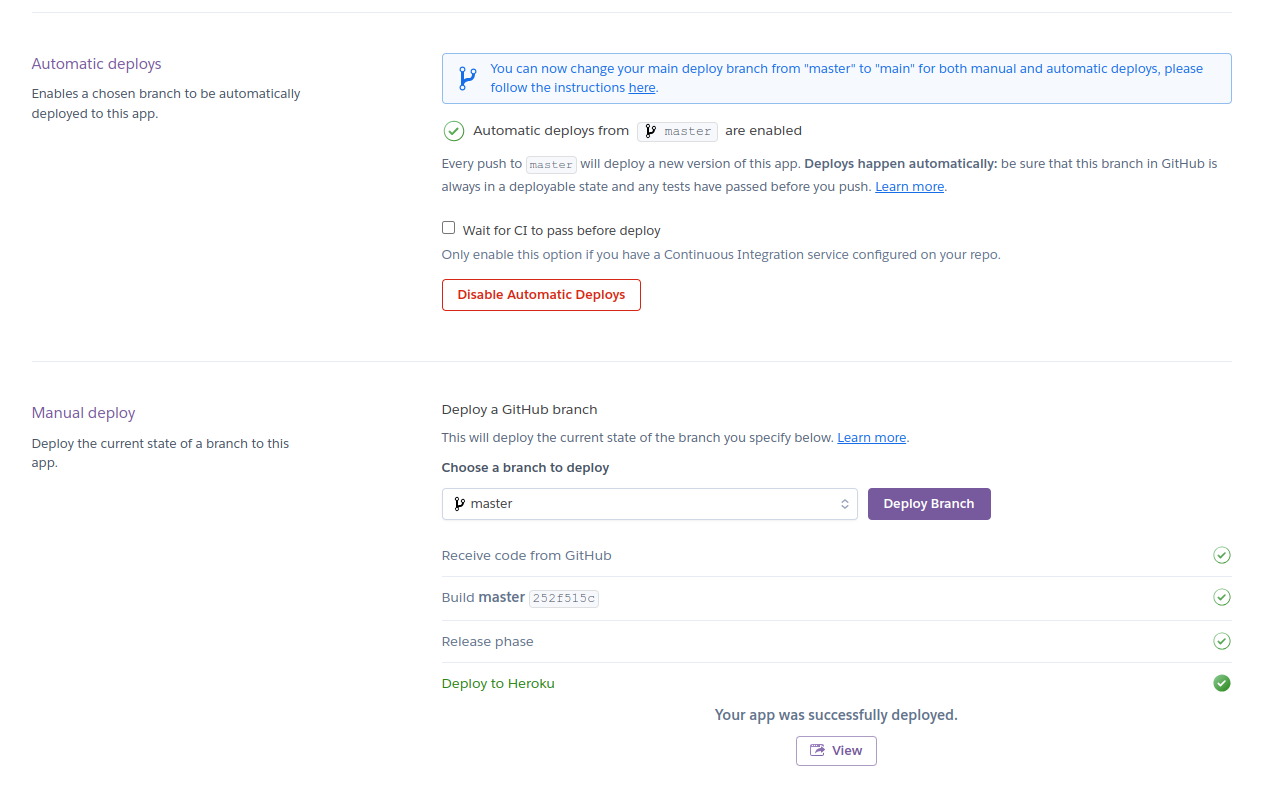
Click Deploy branch to build your app.
A message will indicate that your app is ready, and a link to view it will appear. However, we still have some configuration to make it work.
2. Add environment variables
Go to the Settings tab and click on "Reveal Config Vars" in the "Config Vars" section. Then add the 2 environment variables: TOKEN_SECRET_KEY (which you can generate at https://jwtsecrets.com) and NODE_ENV=production.
🎉 That's it! Now you can click on Open app to see it!